Azure
Storage Account is a storage account that is a resource that acts as a
container that groups all the data services from Azure storage (Azure blobs,
Azure files, Azure Queues, and Azure Tables). This helps us manage all of
them as a group. The policies we specify while creating the storage account or
making changes after the creation applies to all the services inside the
account. Deleting a storage account deletes all the storage services deployed
and the data stored inside it.
The policies that we can define are as follows:
- Subscription: We can choose the Azure
subscription that will be billed for all the services.
- Location: We can choose the data
center which will store the services.
- Performance: We can choose the data
services and the type of hardware disks to store the data. Standard helps
us have the Azure Blob, Azure File, Azure Table, and Azure Queue services
with the magnetic disk drives to store the data. Premium provides us with
more services and is faster as it uses solid-state disks(SSD) for the
storage of data.
- Replication: It helps us choose the number
of copies of the data we wish to create in order to protect the data from
natural disasters or hardware failures. Azure automatically maintains
three copies of our data within the data center. We can choose to upgrade
to other better and more effective options like geo-redundant
storage(GRS).
- Access tier: It helps us choose between the
Hot access tier and the Cool access tier. The hot tier gives us more quick
access to the blobs in a storage account than the cool tier but is
costlier. For any new blob, the default value is in the hot tier.
- Virtual networks: It helps in providing
security by allowing only some virtual network(s) that we specify to have
inbound access.
Note: We need one storage account for each
group of settings that we wish to apply to our data storage services.
Therefore, the number of storage accounts we have to create is determined by
the number of different combinations of data diversity, tolerance, management
overhead and cost sensitivity we require with our data storage services.
Creating
a storage account using Microsoft Azure Portal:
The portal
provides us with a user-friendly graphical user interface with explanations
given for each setting. This makes it easy for us to use.
Prerequisites: One needs to have an active Azure
Subscription. One can avail
a free 12-month subscription.
After
creating an Azure subscription follow the below steps:
Step 1: Navigate
to the Azure Portal
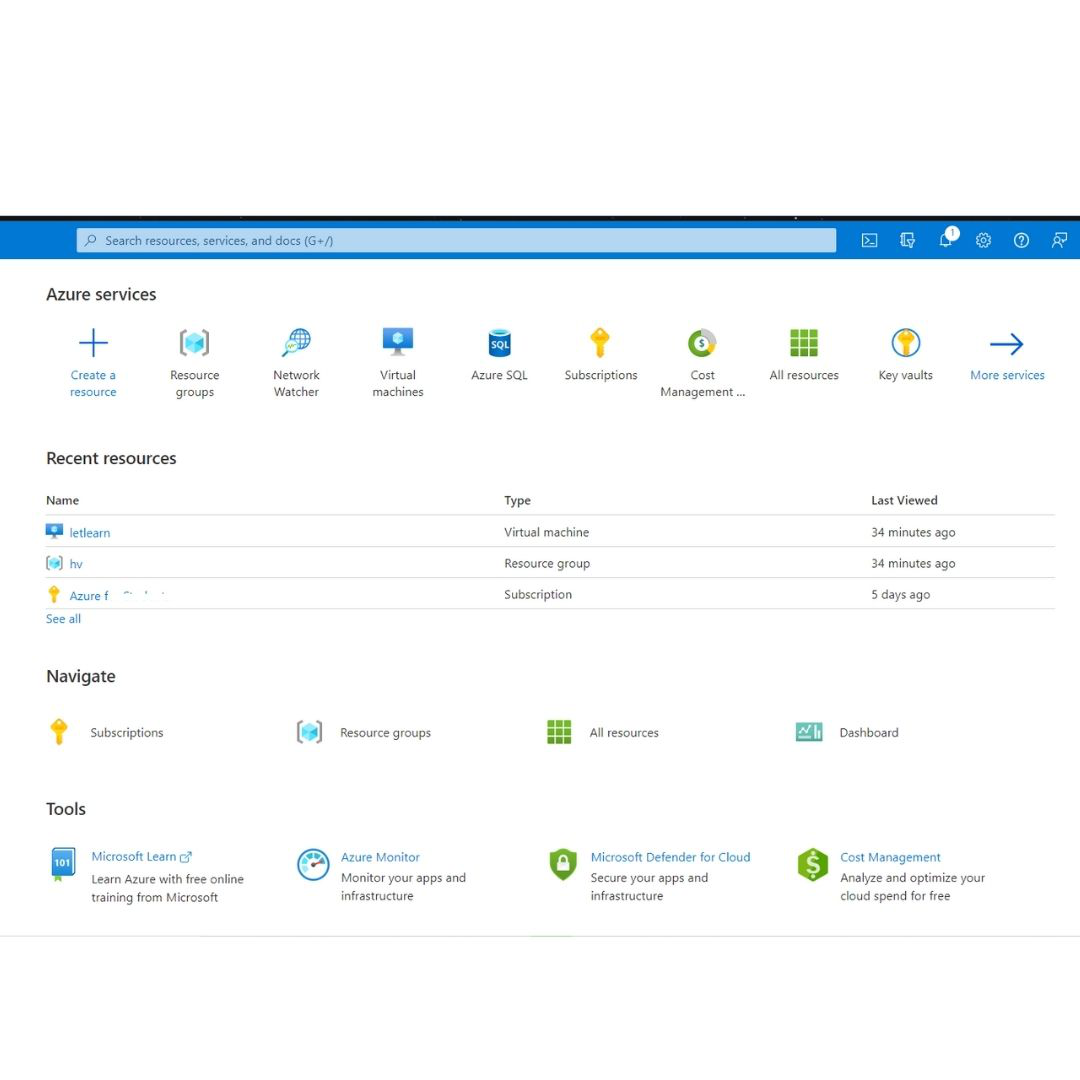
Step 2: On the homepage click on
the + Create a resource option. It will display a list of
resources you can create.
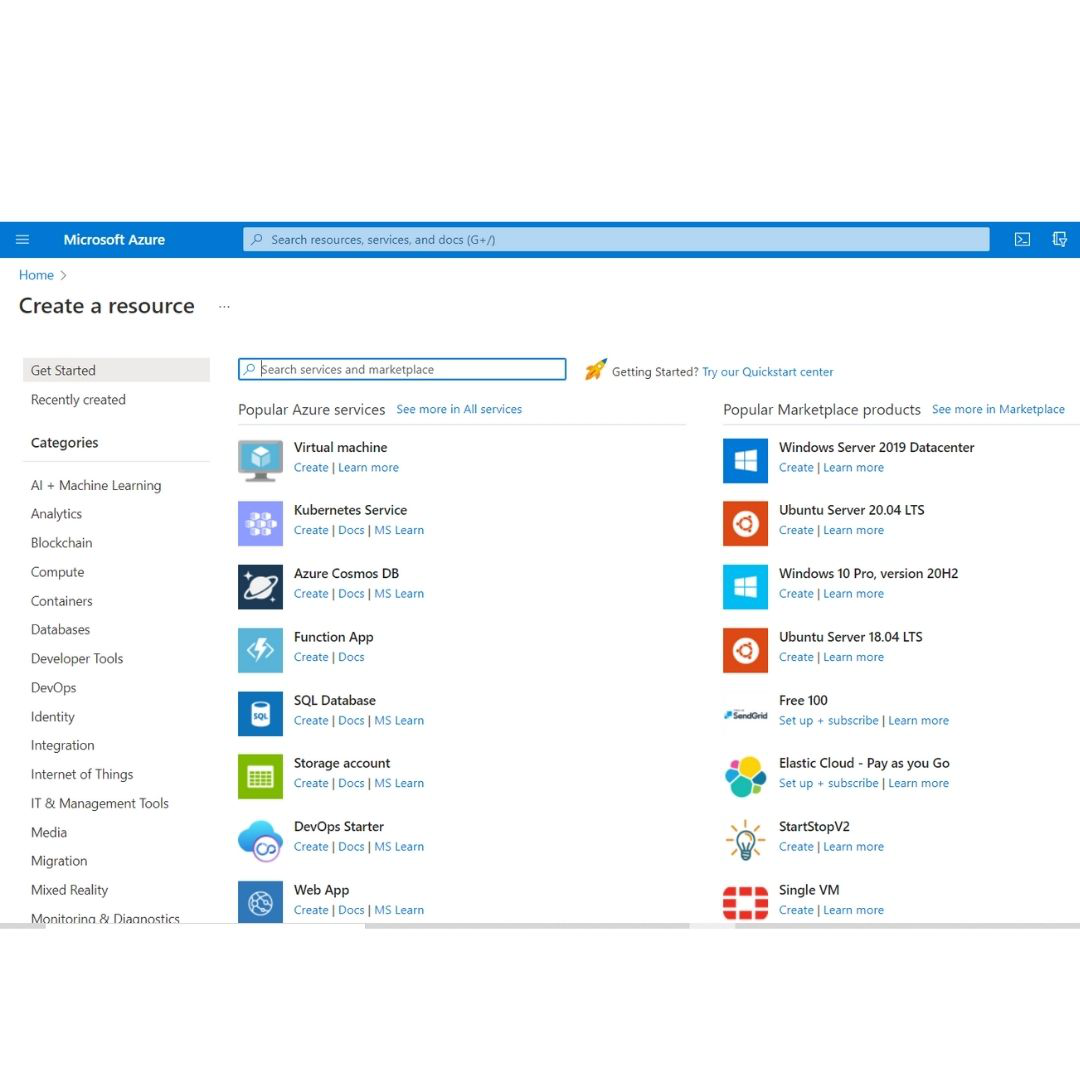
Step 3: Search for Storage Account and
select it. The storage accounts pane appears.
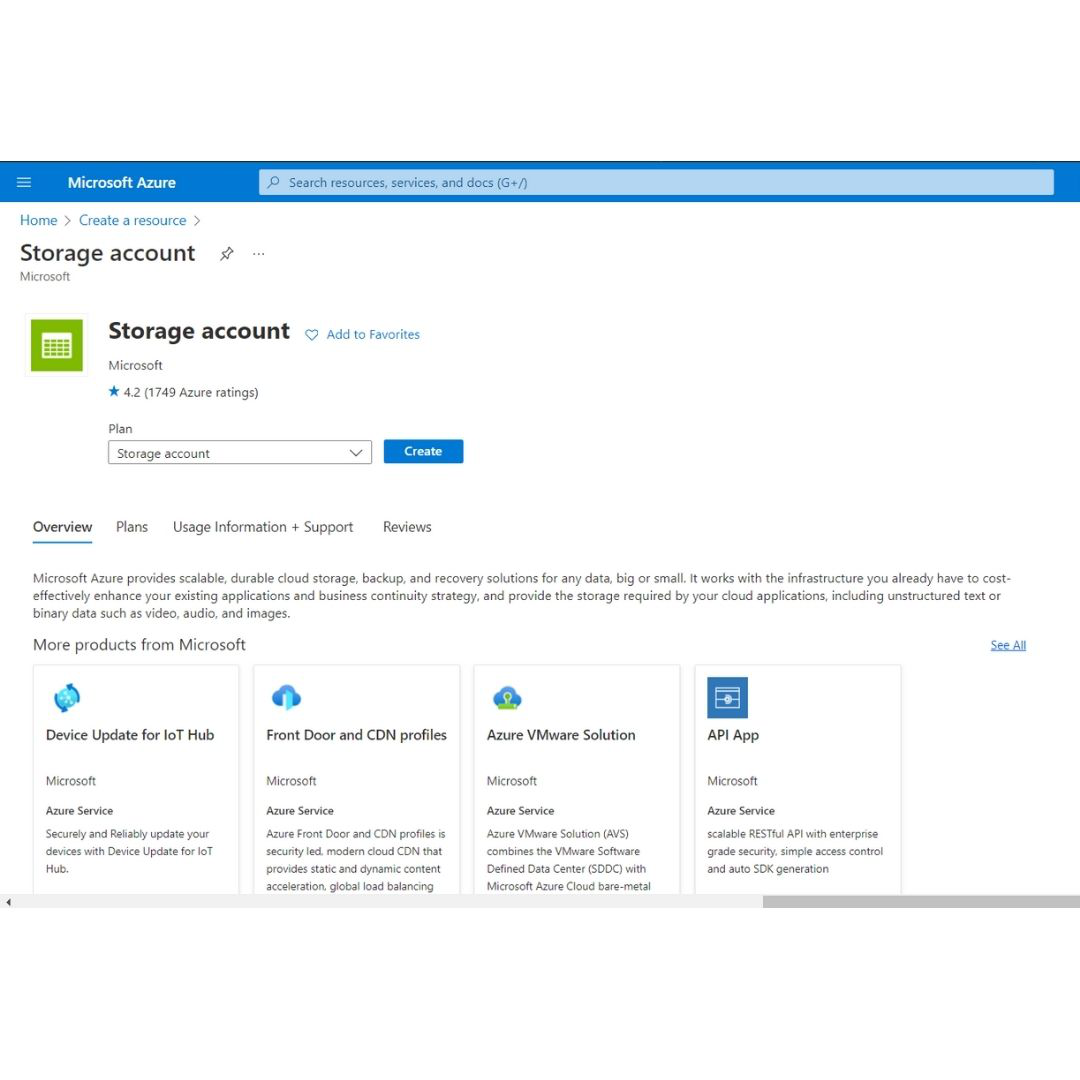
Step 4: Select Create option.
The Create a storage account pane will be displayed.
Step 5: In the basics tab, enter
the following values :
- Subscription: Choose the
subscription where you wish to create the resource.
- Resource group: Choose the
resource group where you wish to create the resource. If you wish to
create a new group click on create a new option.
- Storage account name: Enter a
globally unique storage account.
- Region: Select the location
where we wish to create the account.
- Performance: Choose from
standard or premium based on your requirements.
- Redundancy: Choose the
replication method for your data stored in the storage services. For now,
choose Locally-redundant storage (LRS).

Step 6: Select the Next: Advanced tab and
enter the following details as follows:
- Require secure transfer for REST
API operations: This controls whether HTTP can be used for the REST APIs
that access data in the storage account. If we enable it then all clients
have to use SSL (HTTPS). Click on Enable for now.
- Enable blob public access: Helps
us choose whether to allow clients to read data in the blob contained
without any authorization. For now select check.
- Enable storage account key
access: Helps us choose whether to allow clients to access data via SAS or
not. For now, check.
- Default to Azure Active
Directory authorization in the Azure portal: For now uncheck.
- Minimum TLS version: Select the
TLS version which is used by Azure storage on public HTTPS endpoints.
Select version 1.2 which is the most secure version of TLS.
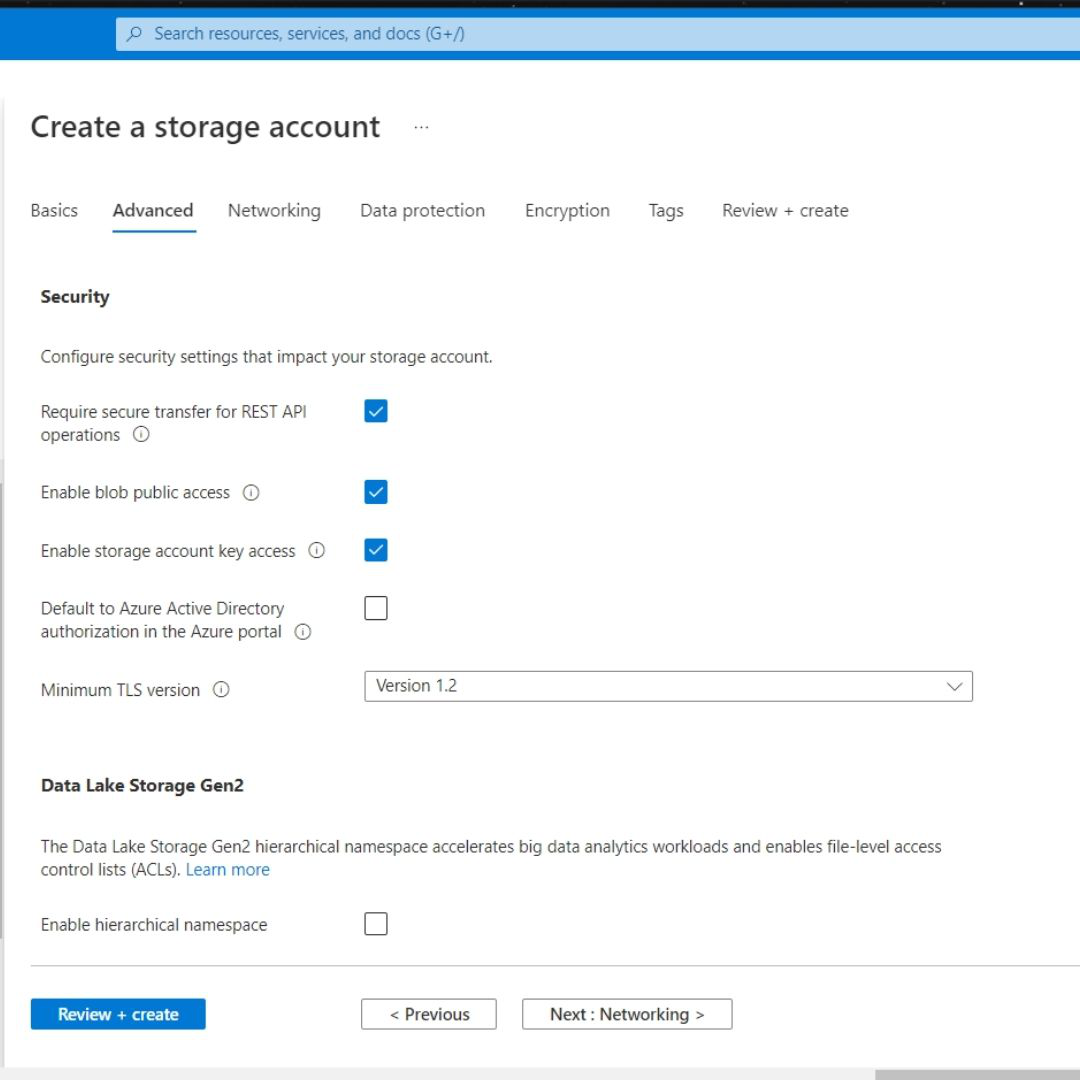
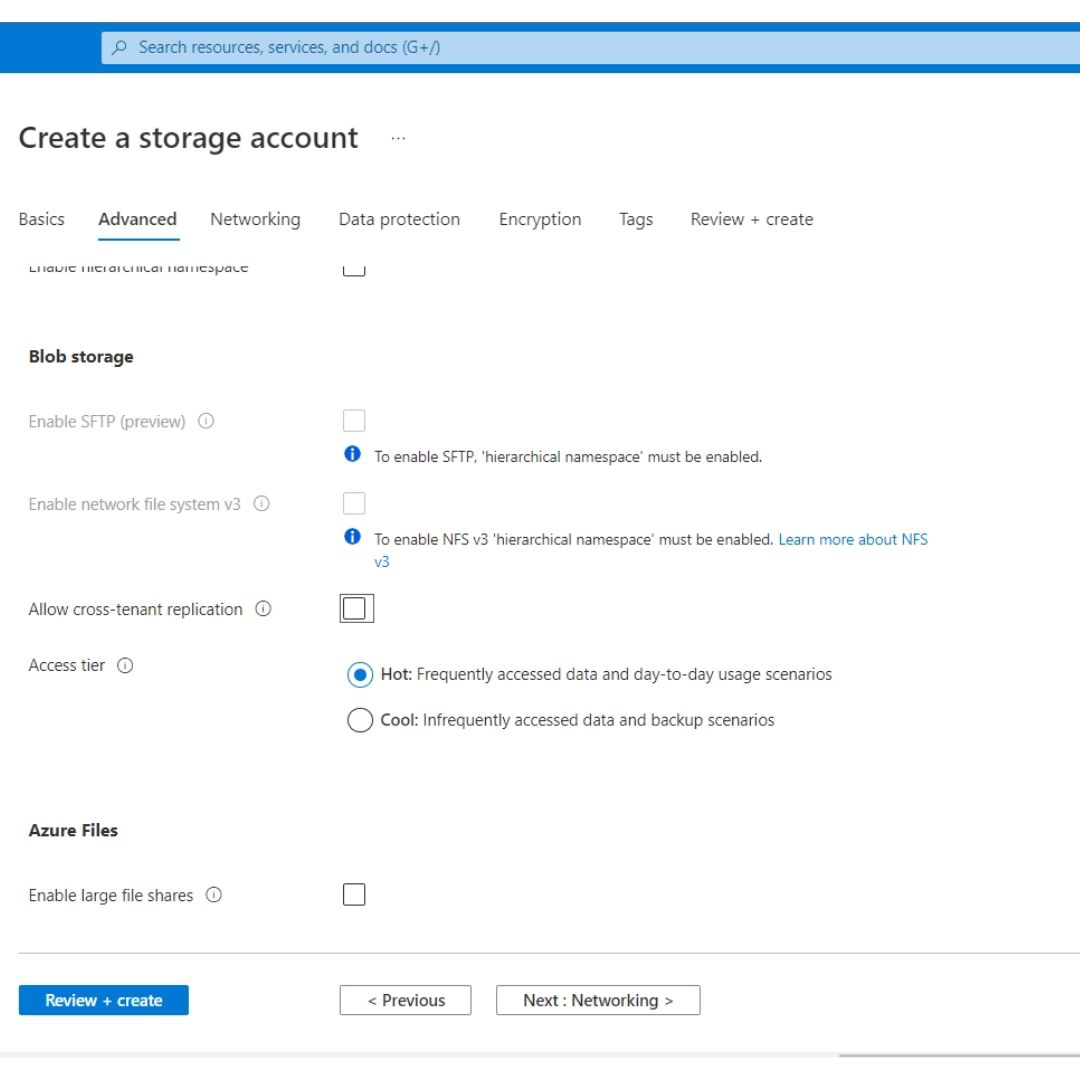
- Enable hierarchical namespace:
It is used for big-data applications. For now, uncheck.
- Enable SFTP: Keep the default
setting which is unchecked.
- Enable network file share: Keep
the default setting which is unchecked.
- Allow cross-tenant replication:
For now, uncheck.
- Access tier: Helps us choose
between Hot and cold access tiers. The hot tier is ideal for frequently
accessed data.
- Enable large file shares: It
helps us store up to 100 TiB of files in Azure files. But this can’t be
converted to a Geo-redundant storage offering, and the upgrades are
permanent. For now, uncheck it.
- Enable hierarchical namespace:
It is used for big-data applications. For now, uncheck.
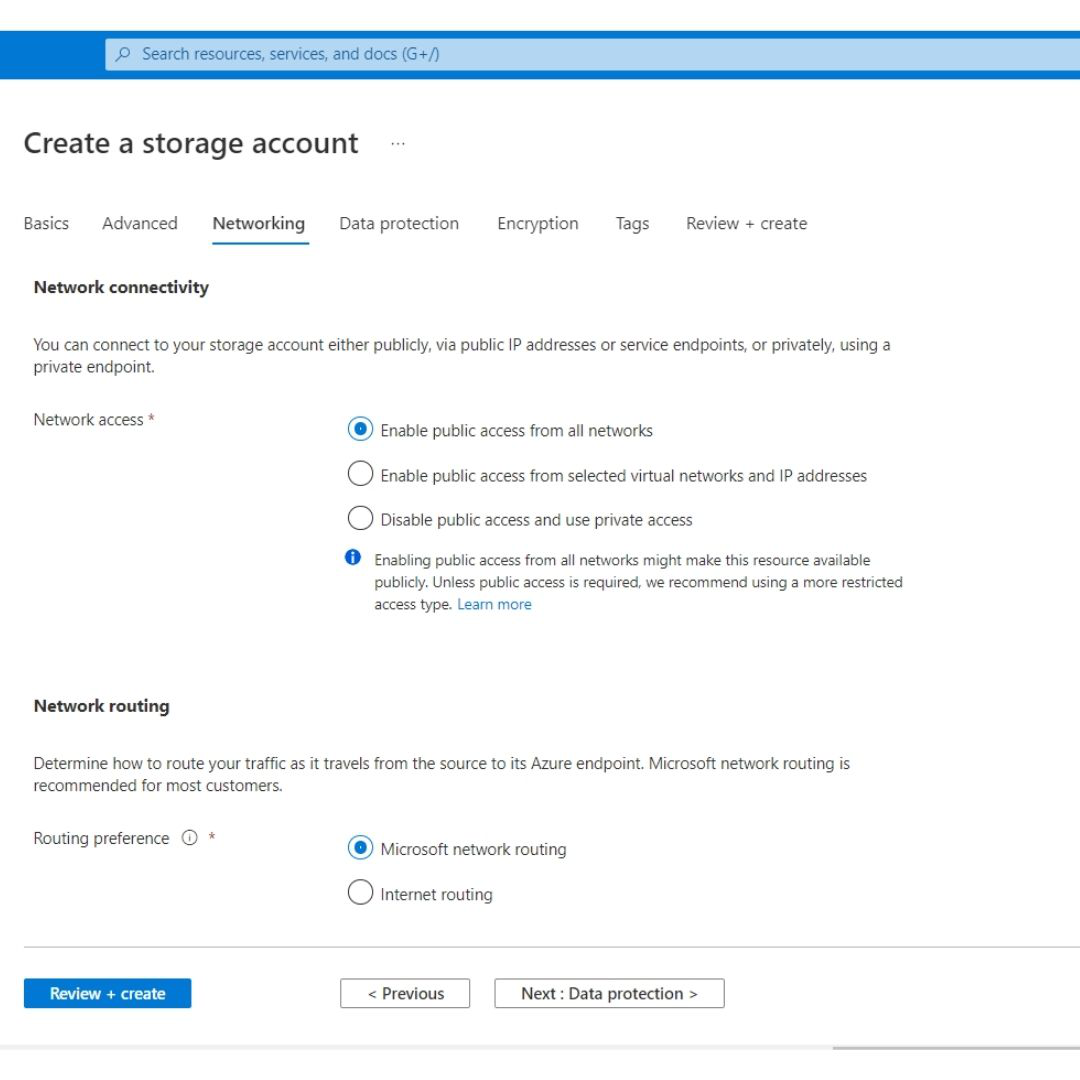
Step 7: Choose the Next: Networking
tab. In the tab enter the following details :
- Connectivity method: Choose the
method with which you wish to connect your store with others. For now,
choose a public endpoint to allow public internet access.
- Routing preference: Choose
Microsoft network routing to make use of the Microsoft global network that
is optimized for low-latency path selection.
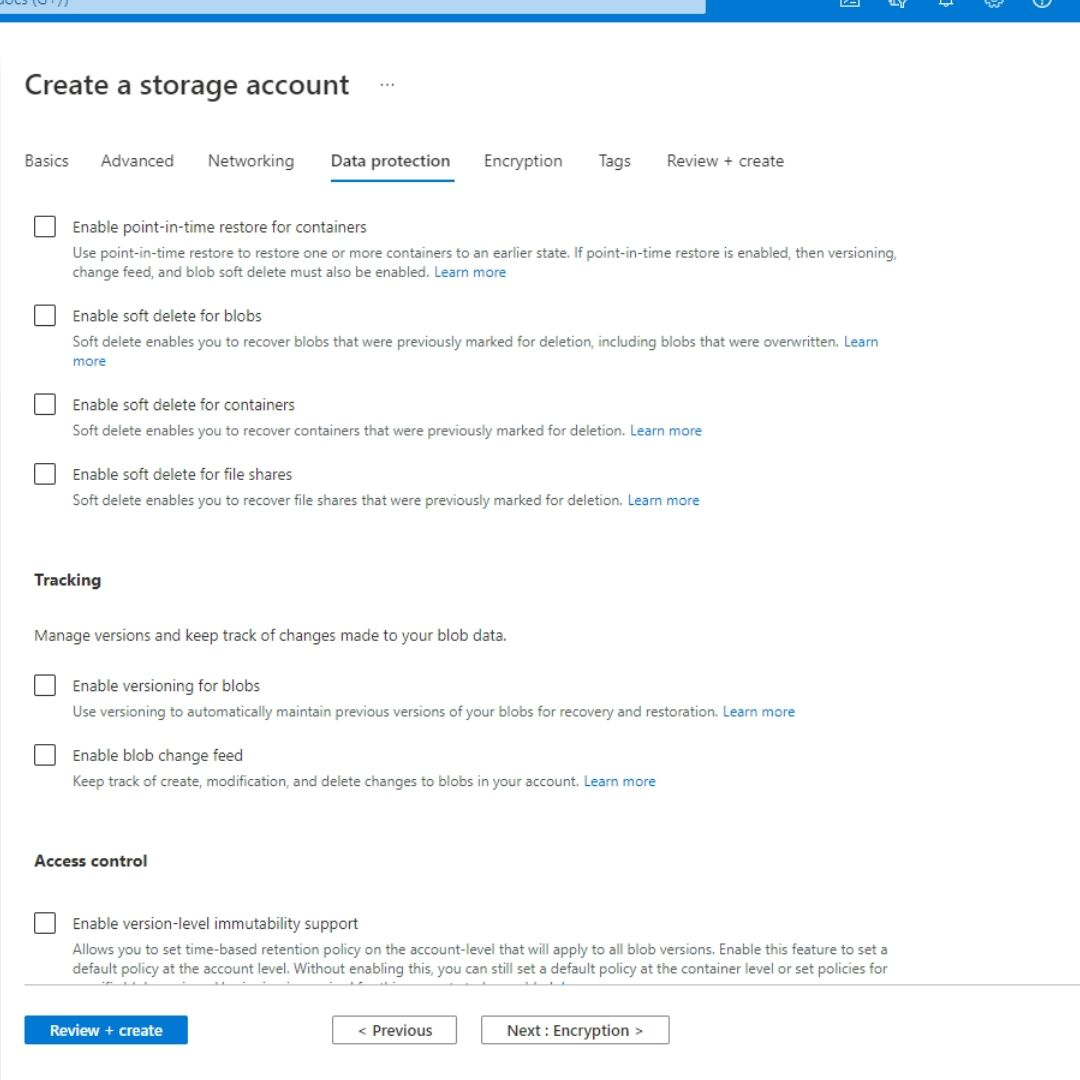
Step 8: Choose the Next: Data
protection option. In the tab enter the following details :
- Enable point-in-time restore for
containers: For now, uncheck this option.
- Enable soft delete for blobs: It
helps us recover blob data in cases where blobs or blob snapshots are
accidentally deleted or overwritten. For now, uncheck this option.
- Enable soft delete for
containers: This helps us recover the containers that are accidentally
deleted. For now, uncheck.
- Enable soft delete for file
shares: This helps us to recover the blob data more easily at the folder
level. For now, uncheck.
- Enable versioning for blobs: For
now, uncheck this option.
- Enable blob change feed: For
now, uncheck this option.
- Enable version-level
immutability support: For now, uncheck this option.
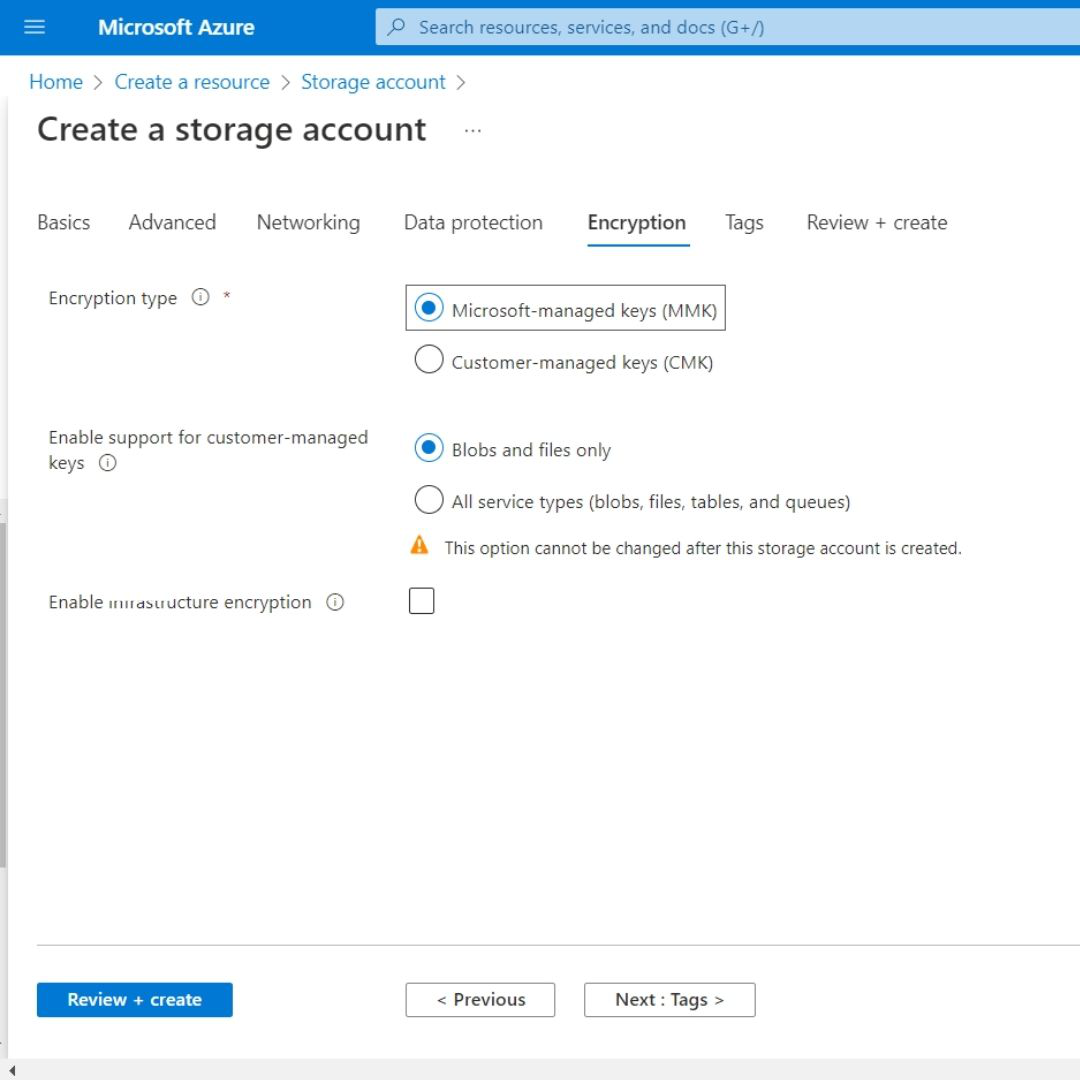
Step 9: Choose the Next: Encryption
option. In the tab that opens you may configure encryption settings. For now,
leave it to default.
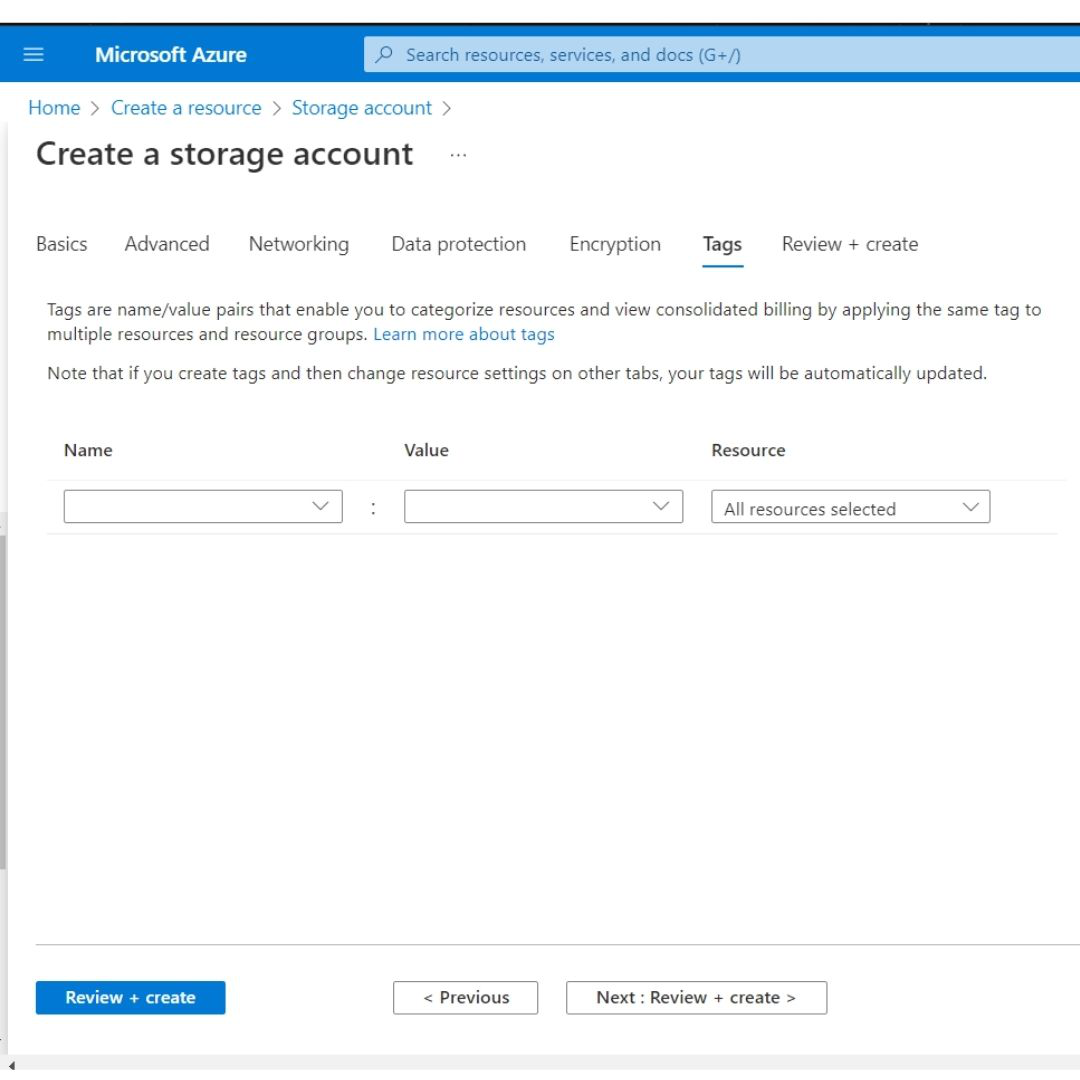
Step 10: Choose the Next: Tags option. In
this tab, we can associate key/value pairs with the account for
categorization.
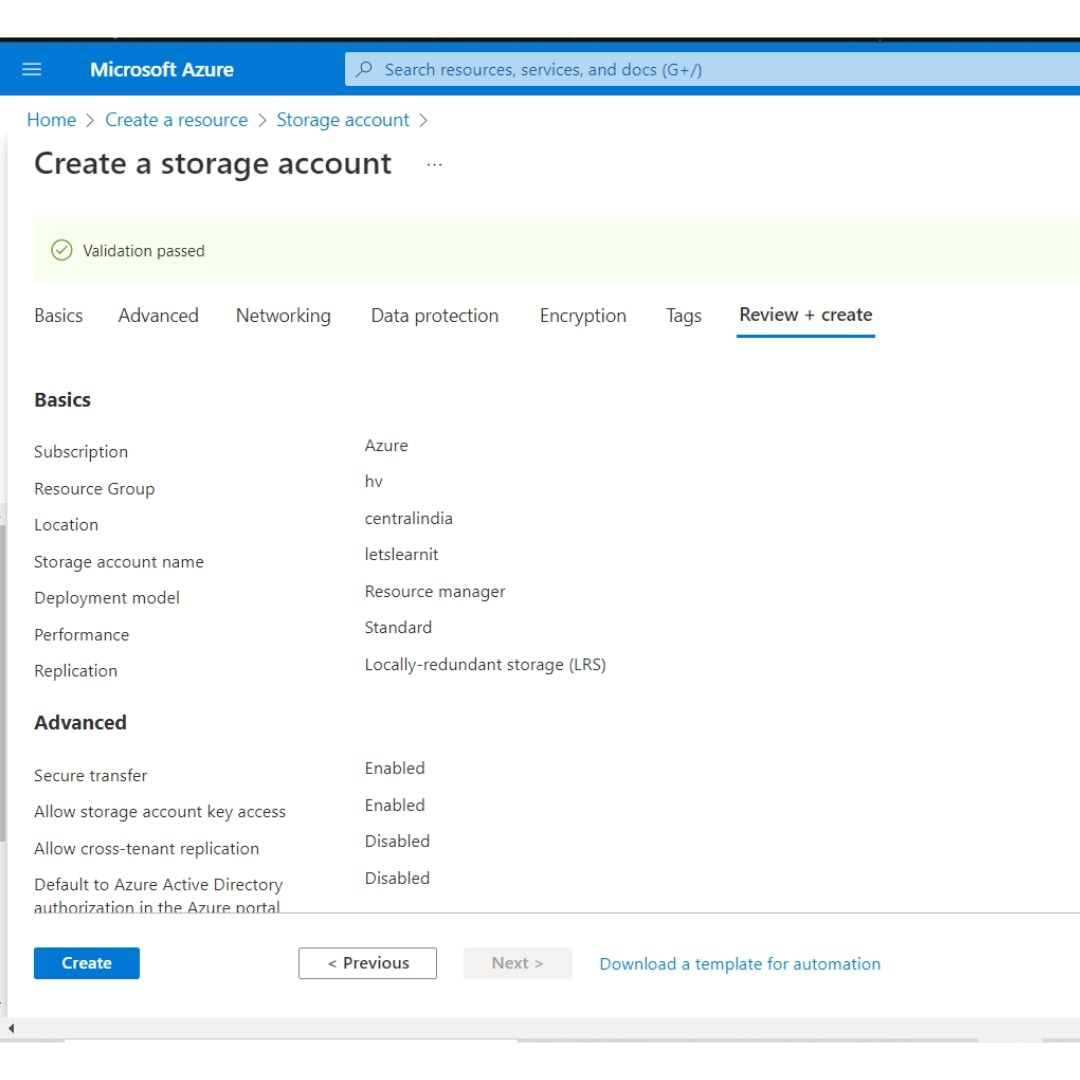
Step 11: Choose the Review + Create option
to validate our options. If any issue is found, correct them.
Step 12: When validation is successfully
passed, select Create to deploy the storage account.
Step 13: Wait for the deployment to complete.
It may take two-three minutes.
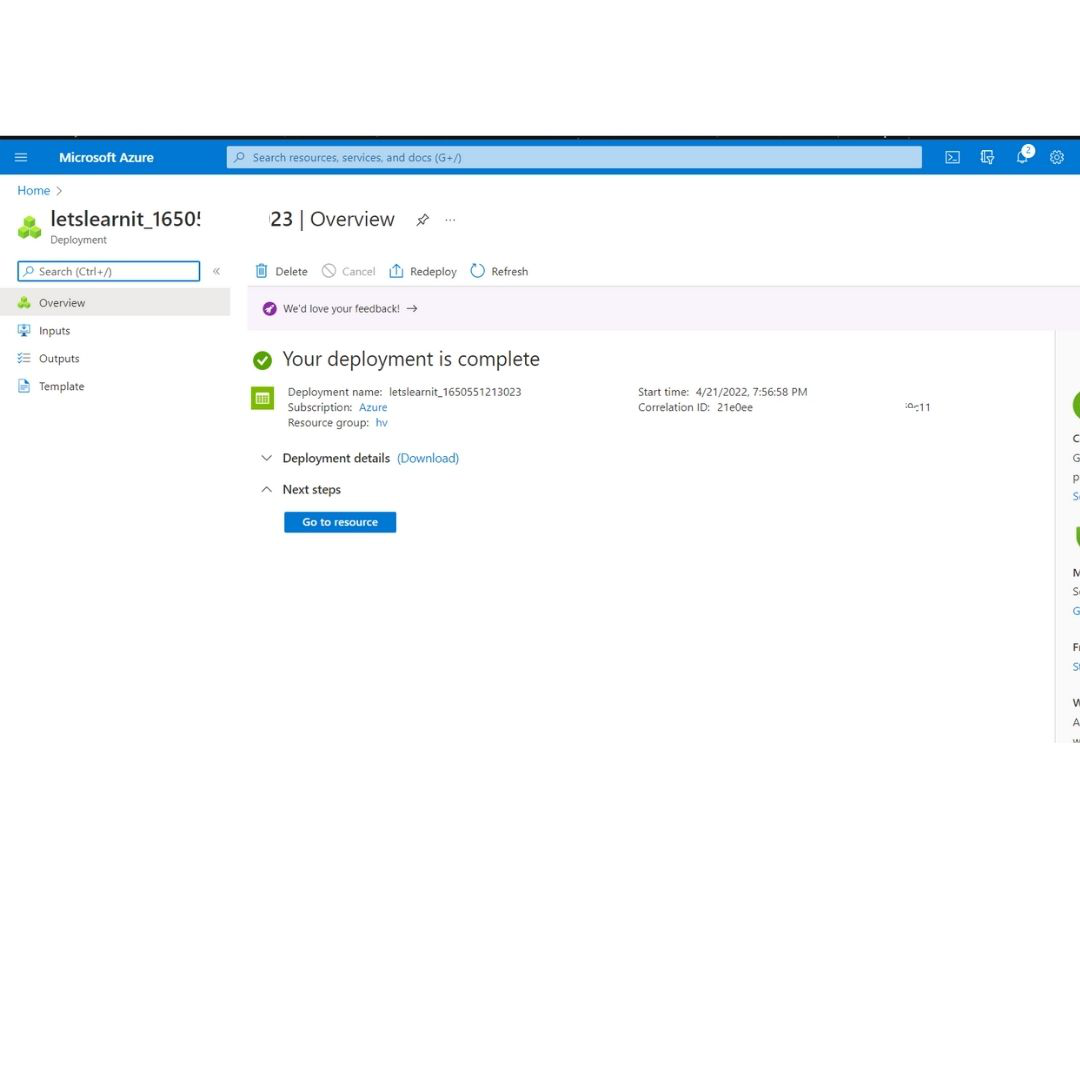
Step 14: Select Go to resource to
view your resource.
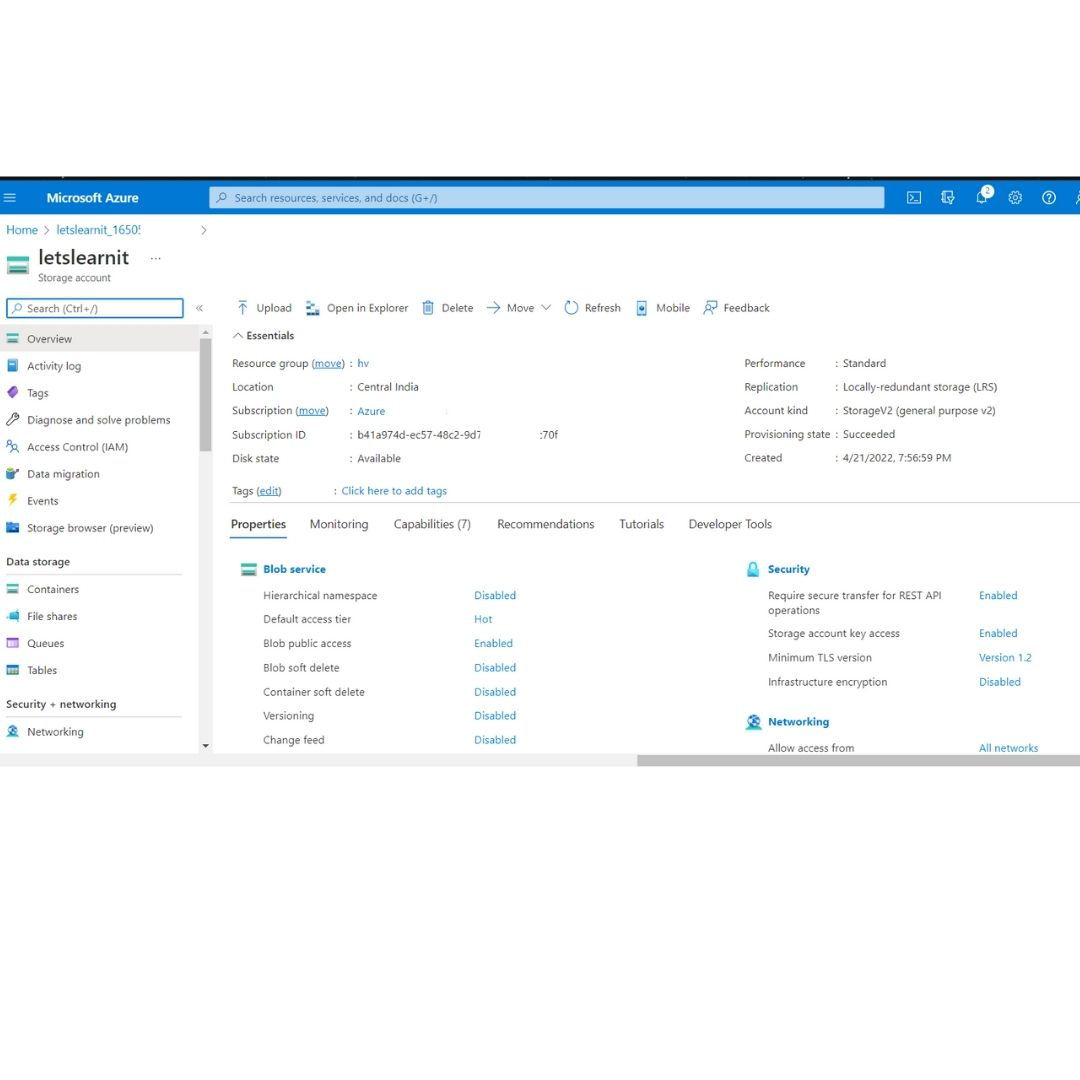
This is how
we can store accounts using the Azure portal.
Note: We
can also create a storage account using the below ways:
- Azure Powershell
- Azure CLI ( Command-line
interface)
- Management client libraries


No comments:
Post a Comment